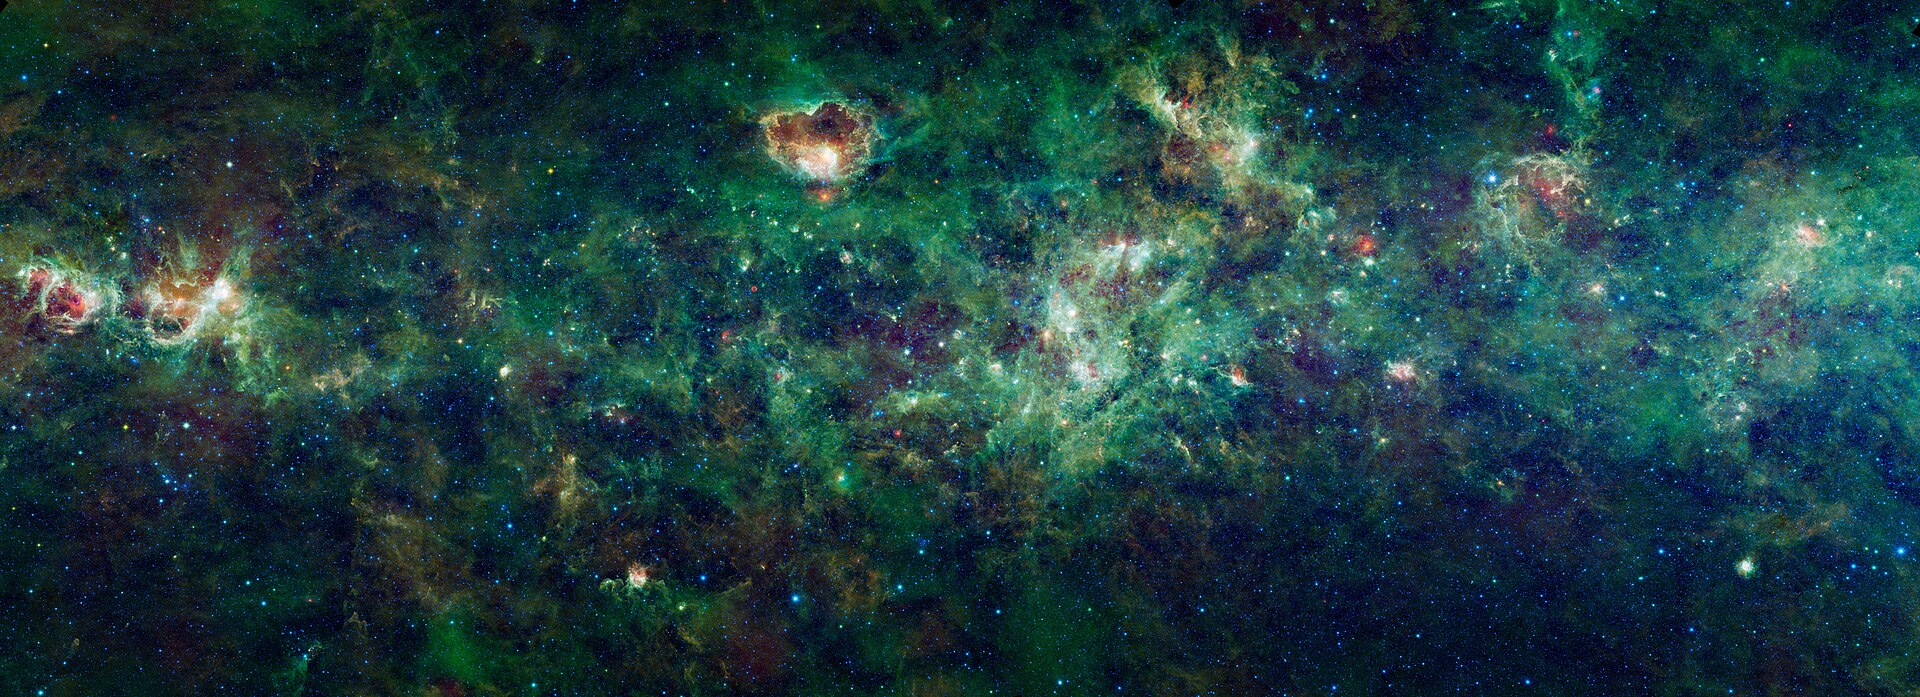
Photographing the Milky Way has become dramatically easier. A decade of sensor improvements means almost any modern interchangeable-lens camera — and increasingly some phones — can capture the galactic core in a single frame.
The equipment is rarely the limiting factor. Location, timing, and technique are.
Getting the timing right
Three things have to line up, and all are predictable months ahead.
Season
The bright galactic core sits in the direction of Sagittarius, and it is only above the horizon at night for part of the year. From mid-northern latitudes, the usable window runs roughly from spring through early autumn, with the core sitting low in the south. From southern latitudes it climbs far higher and is more impressive.
Outside that window, the Milky Way is still overhead, but you are looking at the fainter outer arm rather than the dense core.
Moon
Any significant moonlight ruins it. Plan for the week around new Moon, or for a window before moonrise or after moonset.
Darkness
This is the one people underestimate. The Milky Way is genuinely faint, and suburban skyglow erases it. Check a light pollution map and get to a properly dark site. This single factor makes more difference than any equipment upgrade available.
The gear that matters
A short list, in order of importance.
- A camera that allows full manual control and shoots raw. Sensor size helps but matters less than it used to.
- A fast wide-angle lens. Something in the 14mm to 24mm range on full frame, with a maximum aperture of f/2.8 or wider. Lens speed matters more than the camera body here.
- A sturdy tripod. Long exposures are unforgiving of movement.
- A headlamp with a red mode.
- Spare batteries, which drain faster in the cold.
A remote release or the camera’s self-timer avoids shake from pressing the shutter.
Settings to start from
Astrophotography settings are counterintuitive if your instinct is to shoot conservatively. You need to collect far more light than feels reasonable.
Open the aperture fully, or stop down one third of a stop if the lens is soft wide open. Set ISO between 1600 and 6400 — high ISO adds noise, but underexposing and brightening later adds more.
Exposure length is limited by Earth’s rotation, which turns stars into trails. The traditional guide is the “500 rule”: divide 500 by your focal length in millimetres to get the maximum exposure in seconds. At 20mm that gives 25 seconds. Modern high-resolution sensors show trailing sooner, so treating it as a 300 rule is safer — around 15 seconds at 20mm.
Shoot raw, not JPEG. The processing latitude is essential.
Focusing in the dark
Autofocus will not work, and this is where most attempts fail.
Switch to manual focus, turn on live view, point at the brightest star or a distant light, and magnify the display to maximum. Adjust focus slowly until the star is as small a point as you can make it. Overshoot deliberately in both directions to find the middle.
Then tape the focus ring, or at least be careful not to knock it. Verify focus by zooming into a test shot on the rear screen — not by looking at the thumbnail, which will look fine even when it is not.
Every other mistake is recoverable in processing. Missed focus is not.
Composition
A photograph of only sky is usually less interesting than it sounds. The strong images almost always include a foreground: a tree line, a ridge, a rock formation, a building.
Scout the location in daylight if you can, so you know what is there and where you can safely walk. Apps that simulate the position of the galactic core at a given date and time let you plan the alignment between the sky and your foreground element in advance.
For foreground detail, either shoot a separate longer exposure for the ground and blend it, or use very restrained light painting — a brief, low sweep from a distance. Heavy-handed light painting is the most common way to make an otherwise good image look artificial.
Processing
Raw astro files look flat and grey straight out of the camera. That is expected.
The core adjustments are white balance, contrast, and selective brightening of the Milky Way band. Restraint helps enormously; oversaturated purple-and-orange renditions are a recognisable style, and not a flattering one.
For noise, the most effective approach is stacking: shoot ten or more identical frames, align them on the stars, and average. Random noise cancels out while the signal reinforces. Dedicated stacking software handles the alignment automatically and produces a cleaner result than any single frame plus noise reduction.
Start with one good frame, though. Learn the capture before adding the complexity.